
Hey there! Are you tired of dealing with broken bonds? Well, I’ve got some great news for you! In this article, I’ll be sharing a quick and easy way to check for broken bonds. Whether you’re a DIY enthusiast or a professional, this method will save you time and effort. So, if you’re ready to say goodbye to those pesky broken bonds, keep reading!
Have you ever wondered if there’s a faster way to detect broken bonds? Look no further! In this article, I’ll be revealing a simple yet effective method to quickly check for broken bonds. No more wasting time on lengthy inspections or relying on guesswork. With this technique, you’ll be able to identify broken bonds in a flash. So, if you’re eager to learn this game-changing method, keep reading!
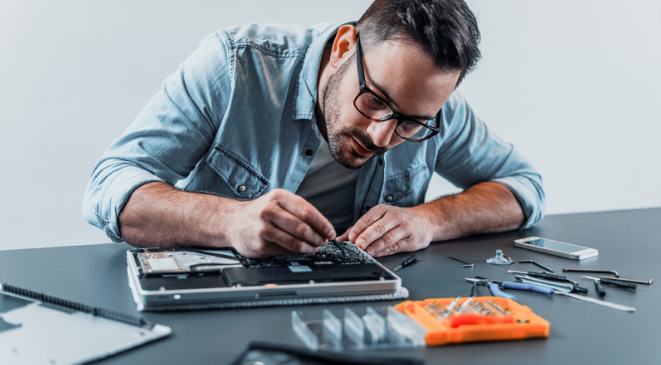
Broken Bonds Quick Check:
As a DIY enthusiast or a professional, it’s essential to quickly identify broken bonds to ensure the structural integrity of your projects. Fortunately, there’s a simple and efficient method for conducting a quick check for broken bonds. Let me share it with you.
- Visual Inspection: Start by visually examining the area where the bonds might be present. Look for any visible cracks, gaps, or signs of separation. Pay attention to areas where the bonds are most likely to occur, such as joints, corners, or seams.
- Tactile Examination: Run your fingers lightly over the surface where the bonds might be damaged. Feel for any irregularities, roughness, or soft spots. Broken bonds often result in an uneven or compromised surface texture.
- Tap Test: Gently tap on the area with your knuckles or a small tool. Listen for any hollow or different sounds that may indicate a broken bond. A solid and intact bond will produce a clear, consistent sound, while a broken bond may produce a dull or hollow sound.
- Visualize with a Flashlight: If the area is not easily accessible or visible, use a flashlight to inspect it. Shine the light perpendicular to the surface and look for any shadows or irregular reflections. These can be indicative of broken or compromised bonds.
Remember, this quick check method is not a substitute for a thorough inspection, especially for critical or high-risk structures. If you suspect a broken bond, it’s always advisable to consult a professional for a more comprehensive assessment.
Tips For Repairing Broken Bonds
When it comes to repairing broken bonds, there are a few key tips to keep in mind to ensure a successful outcome. Whether you’re working on a DIY project or handling professional repairs, following these tips will help you get the job done right.
- Assess the Damage: Before diving into the repair process, it’s important to assess the extent of the damage to the broken bond. Take a close look at the area and determine whether it requires a simple fix or a more involved repair. This initial assessment will help you determine the best course of action.
- Use the Right Adhesive: Choosing the correct adhesive is crucial for effective bond repair. Consider factors such as the materials being bonded and the level of strength required. There are various types of adhesives available, including epoxy, super glue, and construction adhesive. Make sure to select the one that suits your specific needs.
- Prepare the Surface: Before applying the adhesive, it’s essential to prepare the surface to ensure a strong and long-lasting bond. Clean the area thoroughly, removing any dirt, dust, or residue. If necessary, use sandpaper to roughen the surface slightly to improve adhesion. Proper surface preparation is key to a successful repair.
- Apply the Adhesive: Follow the manufacturer’s instructions for applying the chosen adhesive. Apply a thin, even layer of adhesive to both surfaces being bonded. Be mindful of the recommended drying or curing time to ensure optimal bonding. It’s also important to apply consistent pressure during the bonding process for a strong and secure repair.
- Allow Sufficient Drying/Curing Time: Patience is crucial when it comes to repairing broken bonds. Allow the adhesive sufficient time to dry or cure, as specified by the manufacturer. Rushing the drying process can compromise the bond strength and longevity. Follow the recommended timeline for the best results.
- Test the Bond: Once the adhesive has fully cured, it’s essential to test the bond’s strength and integrity. Apply gentle pressure or perform a stress test to ensure the repair is secure. If any weaknesses or issues are detected, re-evaluate the repair and make any necessary adjustments.
By following these tips, you can tackle bond repair projects with confidence and achieve successful outcomes. Remember to always prioritize safety and adhere to the instructions provided by the adhesive manufacturer.