
No-bake cakes are perfect when you crave a sweet treat but don’t want to deal with the fuss of traditional baking. Whether it’s a sweltering summer day or you don’t have the time to bake, these cakes are your go-to solution. They’re quick, easy, and incredibly satisfying, offering a world of flavors and textures without needing an oven.
No-bake cakes are more than just a convenience—they’re a fun and rewarding way to explore the art of dessert-making. With a few essential ingredients and patience, you can make cakes that look and taste like they came from a fancy bakery while they chill.
So, why not embrace the ease and elegance of no-bake cakes and treat yourself and your loved ones to something extraordinary?
What Are No-Bake Cakes?
No-bake cakes are a delightful category of desserts that skip the traditional baking process. Instead of using the heat from an oven to set the cake, these cakes rely on refrigeration to firm up and develop their texture. This makes them an excellent choice for those who want to avoid the fuss and time commitment of conventional baking.
Traditional cakes depend on chemical reactions during baking, such as the leavening agents causing the batter to rise and the heat transforming the batter into a solid structure. On the other hand, no-bake cakes use ingredients like gelatin, whipped cream, or condensed milk to achieve their structure. When chilled, these ingredients thicken and solidify, creating a stable and often creamy texture without baking.
Another difference lies in the ingredients used. No-bake cakes typically incorporate ready-to-eat components like crushed cookies or graham crackers for the base, combined with creamy fillings made from cream cheese, chocolate, peanut butter, or fruit purees. These components blend seamlessly with minimal mixing and preparation, making no-bake cakes easier and a great way to involve kids in the kitchen.
Tips for Making No-Bake Cakes
Making no-bake cakes can be a breeze with the right approach. To ensure your creations turn out perfect every time, here are some essential tips and common mistakes to avoid.
Essential Tips
Here are some essential tips to help you make a flawless no-bake cake every time:
1.Choose High-Quality Ingredients:
Start with fresh, high-quality ingredients. Use full-fat cream cheese, fresh fruits, and premium-quality chocolate to guarantee the best flavor and texture.
When selecting your base, such as graham crackers or cookies, opt for ones with a sturdy texture to avoid a soggy crust.
2.Proper Setting Time:
One of the most crucial steps in making a no-bake cake is allowing enough time to set. Most need at least 4 hours in the refrigerator, but overnight is often best for achieving the ideal firmness.
Patience is critical—resist the temptation to cut into the cake too soon, as it might not hold its shape if it hasn’t set correctly.
3.Whipped Cream Preparation:
Freshly whipped cream adds lightness and volume to no-bake cakes. Consider using whipped cream dispensers and nang tanks (cream charger tanks) to make the process easier and more efficient. These tools can help you achieve perfectly whipped cream multiple times quickly and effortlessly. If you live in Melbourne, you can get these tools in less than an hour at your doorstep via King Whip’s fast nang tanks delivery Melbourne service.
Ensure the whipped cream is stiff enough before folding it into the mixture. This will ensure that your cake has a firm structure.
4.Stabilizers:
Consider stabilizers like gelatin or agar-agar to help your no-bake cake hold its shape, especially in warmer weather. Dissolve them properly to avoid any lumps and ensure an even texture.
5.Layering:
When layering ingredients, ensure each layer is evenly spread and smooth.
This will improve the look of your cake and help it set uniformly.
Common Mistakes
Even with the simplicity of no-bake cakes, there are a few common pitfalls to watch out for:
1. Incorrect Measurements:
• Too much or too little of an ingredient can throw off the texture and taste of your cake. Use a kitchen scale for accuracy, especially when measuring ingredients like gelatin or agar-agar.
2. Insufficient Chilling Time:
• Cutting corners on chilling time is a common mistake. Give your cake ample time to set it in the refrigerator. Rushing this process can result in a runny or unstable cake.
3. Over or Under Mixing:
• Mix just enough to combine when incorporating ingredients like whipped cream or stabilizers. Overmixing can deflate the whipped cream, leading to a denser cake, while undermixing might leave you with an uneven texture.
4. Using Warm Ingredients:
• Ensure all ingredients are at the right temperature. Cream cheese and other dairy items should be at room temperature to mix smoothly, but whipped cream should be cold to whip correctly.
5. Neglecting the Base:
• The base of your no-bake cake is just as important as the filling. Press the crust firmly into the cake pan to ensure it holds together and provides a solid foundation for the rest of the cake.
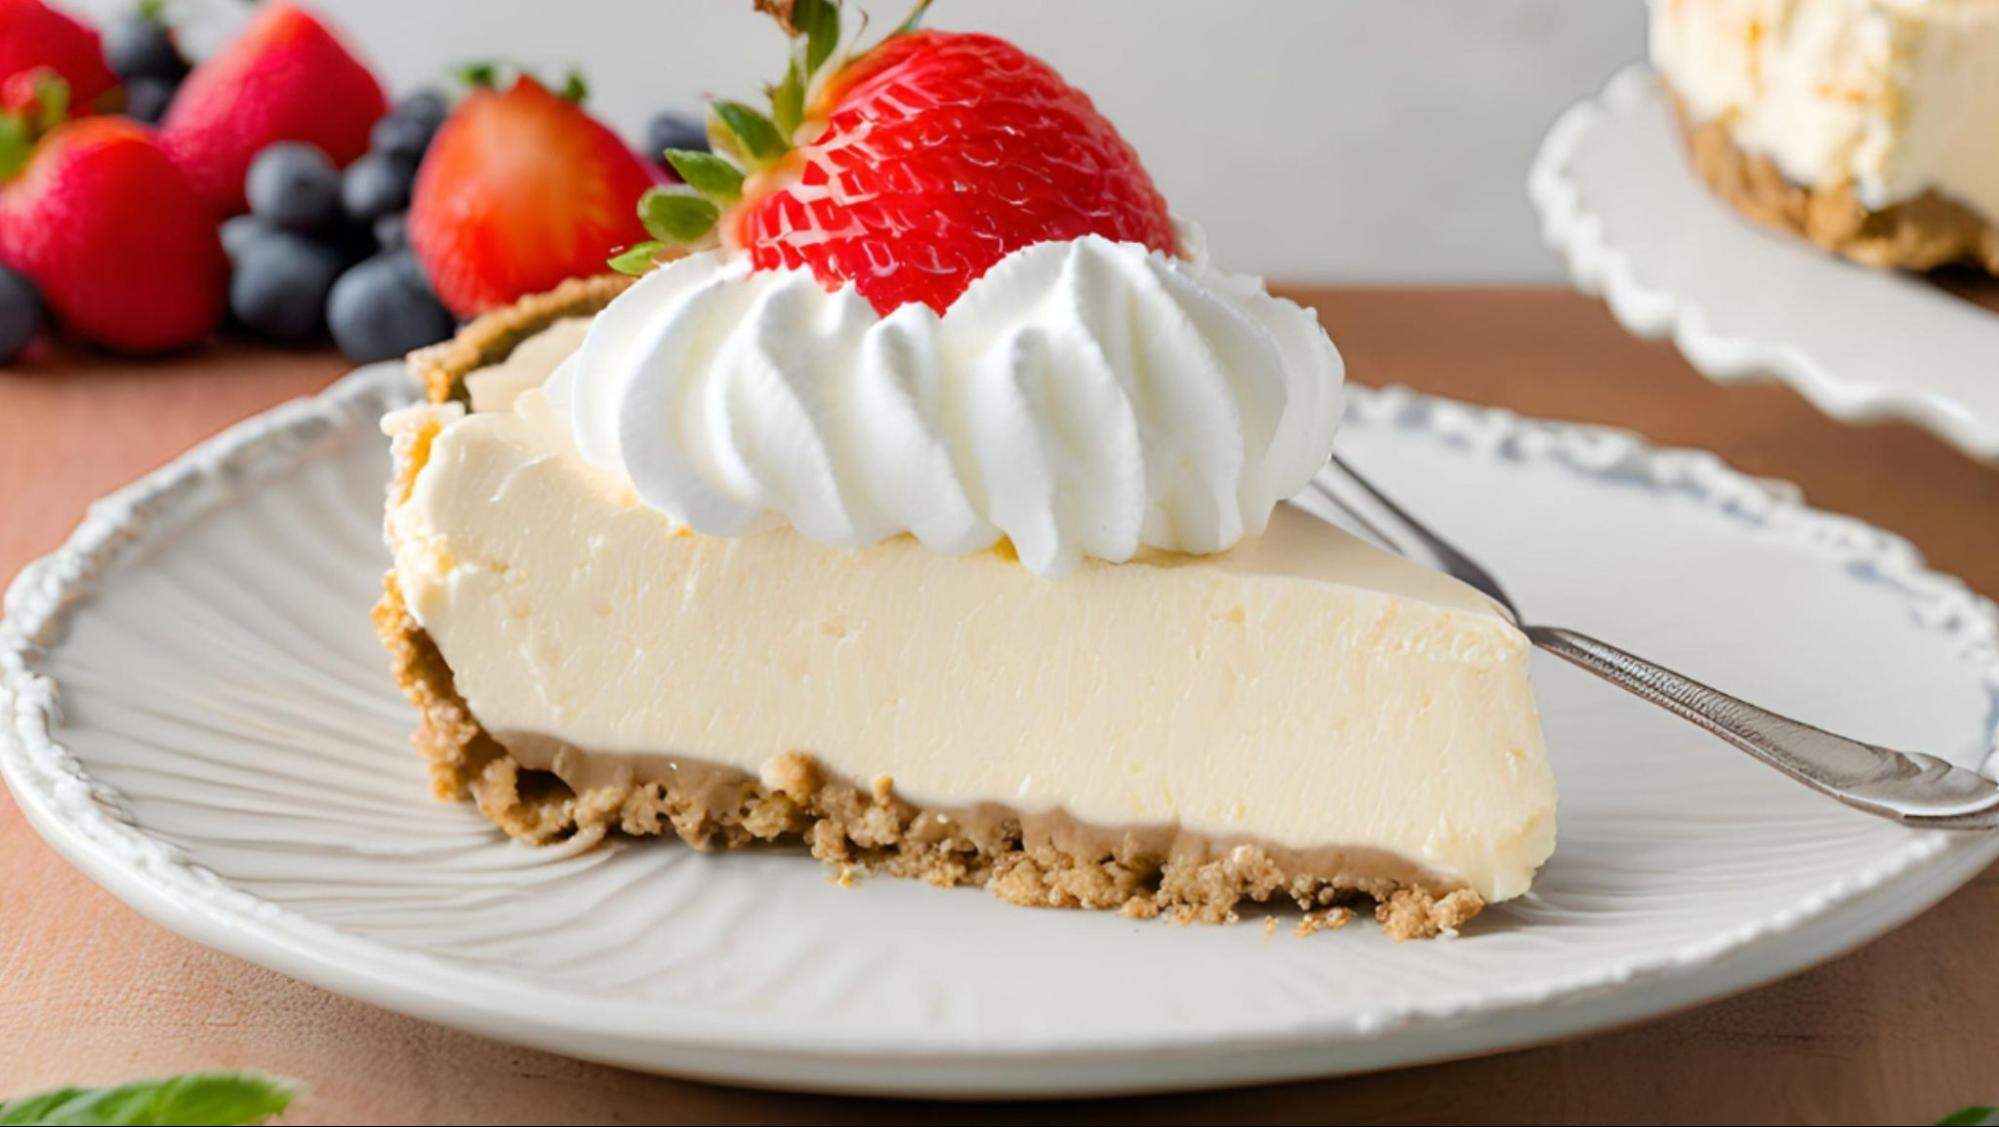
Classic No-Bake Cheesecake
A classic no-bake cheesecake is a delightful, creamy dessert that’s easy to make and impressive to serve.

Perfect for any occasion, it requires no baking and has simple ingredients and minimal effort.
Ingredients
For the crust:
• 2 cups graham cracker crumbs
• 1/2 cup melted butter
• 1/4 cup granulated sugar
For the filling:
• 2 cups cream cheese, softened
• 1 cup granulated sugar
• 1 teaspoon vanilla extract
• 2 cups heavy cream, whipped
Instructions
1. Mix the melted butter, graham cracker crumbs, and granulated sugar in a medium bowl. Keep mixing until the crumbs are well coated and the mixture resembles wet sand.
2. Press the crumb firmly into the bottom of a 9-inch cake pan, ensuring an even layer. Use the back of a spoon or a flat-bottomed glass to compact the crust. Place the pan in the refrigerator to chill while you prepare the filling.
3. In a big mixing bowl, beat the softened cream cheese with your hand or an electric mixer until creamy and smooth. Slowly add the sugar, about two tablespoons at a time, and mix until well combined.
4. Add a teaspoon (or more if desired) of vanilla extract and mix.
5. In a different mixing bowl, whip the heavy cream until stiff peaks form. Slowly fold it into the cream cheese mixture.
6. Carefully pour the mixture over the chilled crust, spreading it evenly with a spatula. Smooth the top to ensure an even layer.
7. Cover the cake pan with a cling wrap and refrigerate for at least 12 hours to allow the cheesecake to set correctly.
8. Once set, remove the cheesecake from the refrigerator. Pour some heavy cream and your choice of sweetener into your whipped cream dispenser. Charge it with your nang tank, shake it, and gently dispense the whipped cream on your cheesecake.
9. Slice and serve the cheesecake as is or with your favorite toppings.
Chocolate Peanut Butter Pie
A chocolate peanut butter pie is a rich and indulgent treat that combines two beloved flavors in one delightful dessert. This no-bake pie is quick to prepare and satisfies any sweet tooth.
Ingredients
For the crust:
• 1 cup chocolate cookie crumbs
• 1/4 cup melted butter
For the filling:
• 1 cup creamy peanut butter
• 1 cup powdered sugar
• 8 oz cream cheese, softened
• 1 teaspoon vanilla extract
• 1 cup heavy cream, whipped
For the topping:
• 1 cup chocolate chips
• 1/2 cup heavy cream
Instructions
1. In a medium-sized bowl, combine the chocolate cookie crumbs and melted butter. Mix until the crumbs are well-coated.
2. Press the crumb mix into the sides and bottom of a 9-inch pie pan. Use the back of a spoon or a flat-bottomed glass to ensure an even layer. Refrigerate the crust to chill while you prepare the filling.
3. In a big mixing bowl, beat the softened cream cheese, peanut butter, and sugar with your hand or an electric mixer until creamy.
4. Add the vanilla and mix.
5. In a different mixing bowl, whip the heavy cream using a stand or hand mixer until stiff peaks form. Carefully fold it into the peanut butter mix to complete the filling.
6. Pour the filling into the chilled crust. Using a spatula, spread it evenly.
7. Cover the pie with a cling wrap and put it in a fridge for at least 2 hours to allow it to set correctly.
8. In a saucepan, place the heavy cream over low to medium heat until it starts to simmer. Remove from stove and add the chocolate chips. Let them sit for a minute, then continue stirring until all the chocolate chips melt and the mixture is smooth.
9. Allow the mixture to cool for a few minutes, then pour it over the chilled pie, spreading it evenly to cover the top.
10. Return the pie to the refrigerator for another hour or until the chocolate topping is set.
11. Once fully set, remove the pie from the fridge. Pour some heavy cream and your choice of sweetener into your whipped cream dispenser. Charge it with your nang tank, shake it, and gently dispense the whipped cream on your cheesecake.
12. Slice and serve, enjoying chocolate and peanut butter’s rich, creamy flavors.
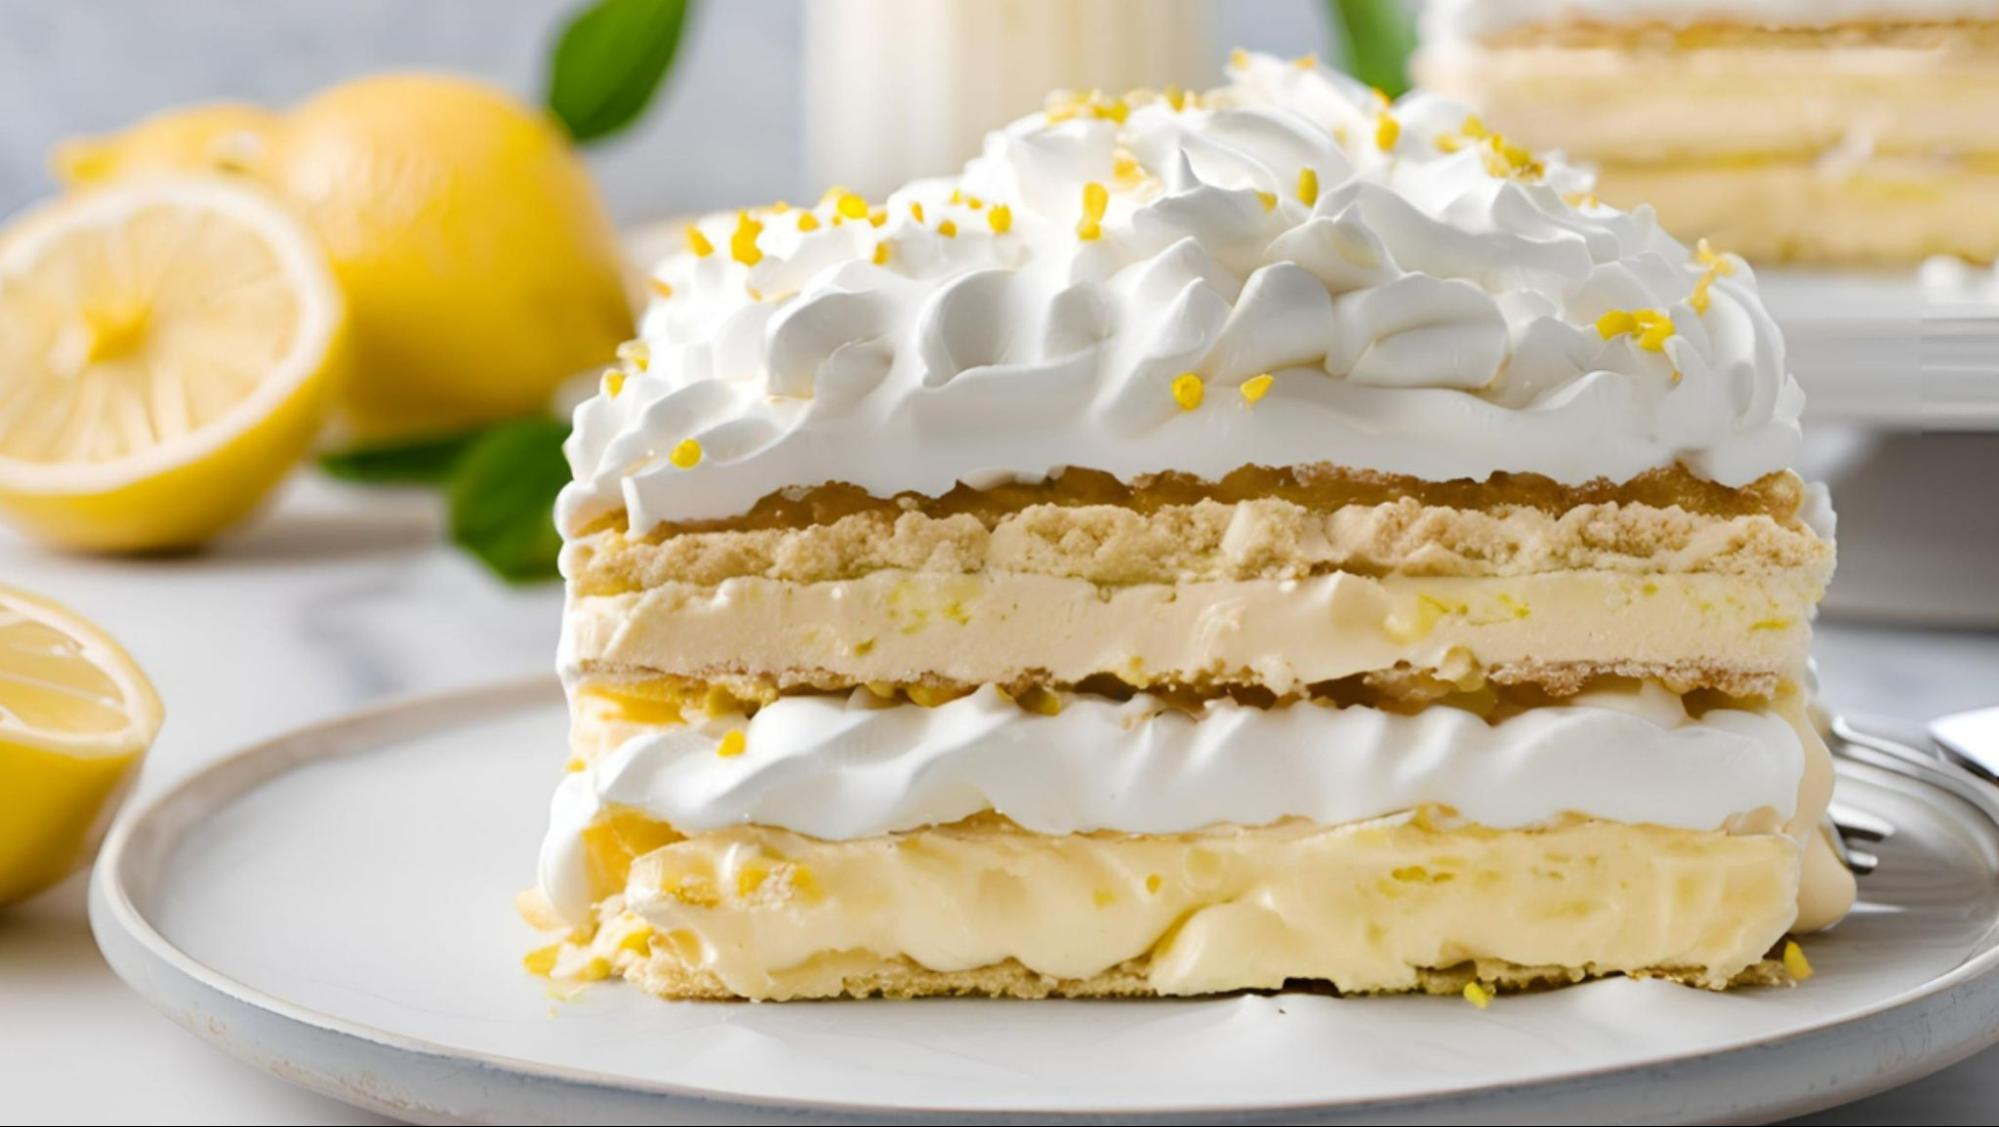
Lemon Icebox Cake
A lemon icebox cake is a refreshing and tangy dessert for warm days. This no-bake treat is light, zesty, and incredibly easy to make, making it ideal for any occasion.
Ingredients
For the crust:
• 2 cups graham cracker crumbs
• 1/2 cup melted butter
For the filling:
• 1 can (14 oz) sweetened condensed milk
• 1/2 cup freshly squeezed lemon juice
• 1 tablespoon lemon zest
• 2 cups heavy cream, whipped
For the topping:
• Extra lemon zest or lemon slices for garnish (optional)
Instructions
1. In a medium-sized mixing bowl, mix the graham cracker crumbs and melted butter. Mix until everything is well coated and resembles wet sand.
2. Press the mixture into the bottom of an 8×8-inch baking dish, ensuring an even layer. Use the back of a spoon or a flat-bottomed glass to compact the crust. Put the dish inside the fridge to chill while you prepare the filling.
3. Blend the sweetened condensed milk, freshly squeezed lemon juice, and zest in a big mixing bowl until well combined and smooth.
4. Whip the heavy cream in a different mixing bowl until stiff peaks form. Slowly fold the whipped cream into the lemon mixture, careful not to deflate it. This will give the filling a light and airy texture.
5. Pour the lemon filling over the chilled crust, spreading it evenly with a spatula. Smooth the top to ensure an even layer.
6. Cover the dish with a cling wrap and chill for at least four hours, preferably overnight, to allow the cake to set correctly.
7. Once set, remove the lemon icebox cake from the refrigerator. Pour some heavy cream and your choice of sweetener into your whipped cream dispenser. Charge it with your nang tank, shake it, and gently dispense the whipped cream on your cheesecake.
8. Garnish with extra lemon zest or slices for a decorative touch if desired.
9. Slice into squares and serve chilled, enjoying the refreshing lemon flavor and creamy texture.
Savor the Sweet Simplicity of No-Bake Cakes
No-bake cakes are versatile and perfect for any occasion, whether it’s the creamy richness of a classic cheesecake, the indulgent combination of chocolate and peanut butter, or the refreshing zest of a lemon icebox cake.
These recipes save you time and bring joy to your table with their deliciousness and ease. Embrace the convenience and elegance of no-bake cakes, and let King Whip be your go-to source for all your culinary adventures, making every dessert moment memorable and stress-free.