
How To Reheat Ribs
Tried And True: In The Oven
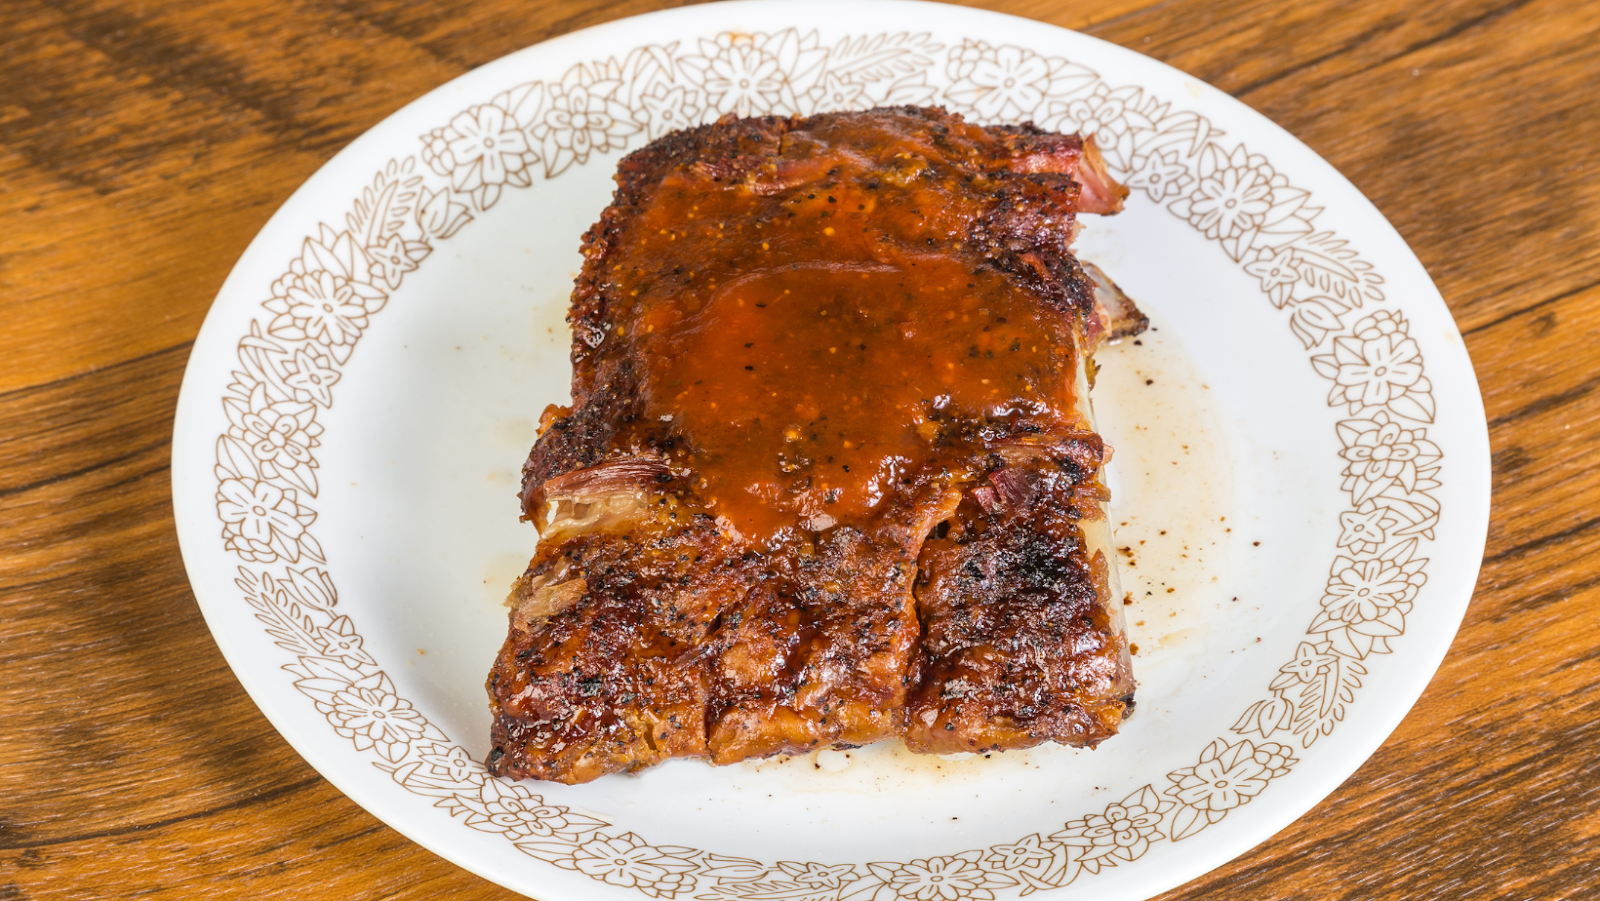
The error lots of people make when reheating ribs in the oven is to preheat. When you preheat the oven, you’re introducing your ribs into insane heat very quickly. This means that the outside gets hit early and begins to dry out. The trick is to start in a cold oven, put the ribs in there as it heats, and everything comes up to temperature evenly together.
Baste liberally with leftover sauce before going into the oven and wrap them in tin foil to keep the moisture in. After about 30-40 minutes at 250°F, you’ll have tender ribs falling off the bone. If you want a bit of a crust back on them, stick them under the broiler for a couple of minutes.
Broil Em
Broiling ribs is a quick and convenient method as they’re probably only under the broiler for around 3 minutes a side and then a short rest time, but as it’s direct and intense heat, you’ll have to work to keep them from drying out.
Start with the ribs bone side up so that any juices that come out during cooking naturally baste the meat, keeping it nice and juicy. If you’re adding additional sauce, only do this after the first couple of minutes on the second side. Sugary barbeque sauce and broiling can lead to over-caramelization (burning)…
Try The Air Fryer
Take the time to split your ribs into individual items rather than a rack so that the air can get to all parts easily. This method should only take around 5-7 minutes with the air fryer set to 350°F. You’ll get a nice crisp on the outside if you brush the ribs lightly with a bit of oil. I’d recommend adding the sauce after the cooking process; you might want to warm it a bit first.
Consider doing them in batches if you’re reheating a lot of ribs. Don’t go crowding the basket, or not all your ribs will warm properly.

Sous Vide
If you’re feeling fancy and have access to sous vide (water bath), then you could always reheat your ribs this way. The water should be at 155°F, the ribs sealed and vacuum packed into a bag, and put together for around 40 minutes.
The beauty of cooking sous vide is that no further moisture leaves the ribs, and they’re delightfully tender and juicy after reheating. If you want a bit of a crust back on them or a warm sticky sauce, put them under the broiler for a couple of minutes.
Grill Em
Chances are, this is how you cooked them in the first place. This time, keep your ribs in a foil package so that they can warm over the grill without drying out. Ideally, they’d be in the packages with some additional moisture from some extra sauce, apple juice, or stock. After around 8-10 minutes, remove them from the foil and stick them straight over the coals. This will return the deep charred flavor to the meat, and they’ll be just perfect.
If you’ve got space, try to keep the coals to one side. You can use the side without the coals as your oven with a less intense direct heat for the first part, then over the coals for the second.
Smoker Style
Follow almost the exact process as the grill method above, but this time allow the timings to be considerably longer. It takes around an hour for a normal rack. This is low and slow cooking, after all. Talking of low, you should aim for a temperature around 165°F for the time the ribs are in the smoker.
Slow Cooker
If crisp just isn’t a concern for you and you don’t want warm ribs immediately, then the slow cooker is a good plan. Place the ribs into the slow cooker with a decent amount of sauce, stock or juice poured over them. Turn the cooker to medium-high heat and cook until the ribs hit 165°F internally.
Last Resort: In The Microwave
Honestly, I debated even including this in the list, but sometimes you just need hot ribs, and that’s the end of it; needs must.
If you have to use the microwave, don’t nuke the things; set it to around 50% power, and go for 30-second intervals, testing as you go. Before you start, consider how moist the ribs currently are; basting them with a little apple juice, stock, or water will breathe life into dried-out ribs.
Key Takeaways
Rejoice, rib lovers; using one of the methods above; you’ll be enjoying delicious, warm ribs in no time, just as they were when first cooked. Personally, I really like food, and this is just one set of ways to prolong that enjoyment even more.
- Keeping the moisture levels right is the best way to ensure succulent ribs after reheating.
- You can always add water, but it won’t add any flavor to the ribs.
- Consider the timings of your mealtime before selecting a method.